HARDSCAPING?
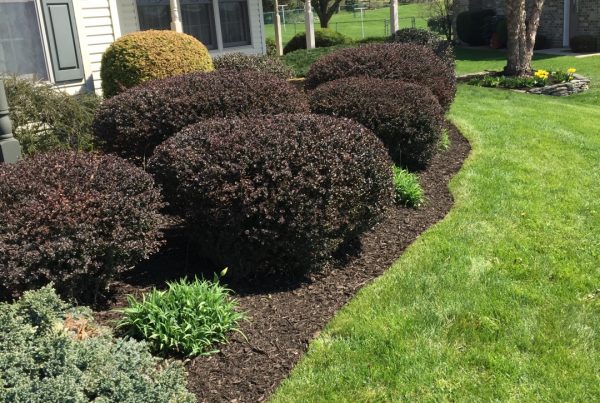
Hardscaping is any Human constructed project made of gravel, stone, pavers and brick and at times wood. The materials are usually solid in nature and can be outdoor or indoor use. Years ago the Hardscape Industry was for outdoor use now it can be for both. Another way to look at Hardscape is hardscaping is nothing to do with plant life or growing materials. Hardscaping can be patios, walkways, driveways, fire pits, steps, porch landings, river rock beds, rock gardens, outdoor living spaces, it is endless.
Frequent Asked Questions
Can I just do a hardscape project without landscaping all at once?
Yes, The landscape material will soften the look of the hardscape project and give a nice finished look to the project. Most projects of this size is usually done in stages do to budget restrictions.
Can I add to my hardscape project later?
Yes, You can add to any project later but keep in mind the manufactors usually discontinue product after so many years. If you know your going to add to a project later I recommend purchasing enough product for later. Also remember product fades naturally through years of use do to weather conditions, foot and vehicle traffic.
Can I install my patio or walkway on topsoil without base?
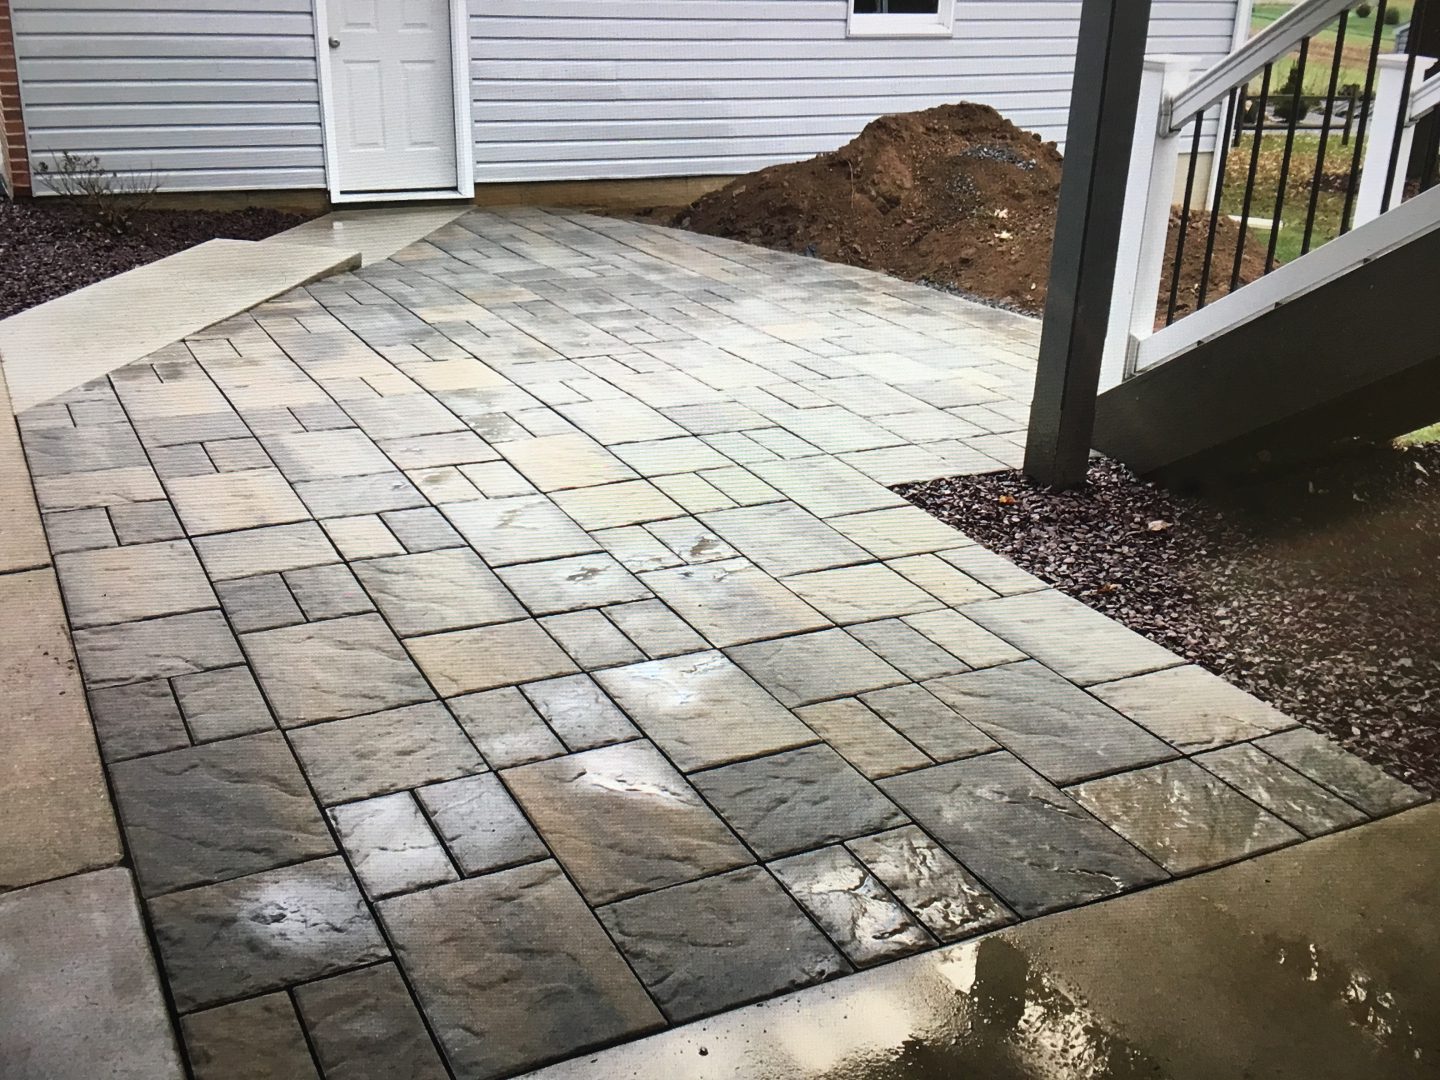
No, This is a common mistake for Home owners to make. Hardscape projects such as paver walkways, outliving spaces and driveways need a sub base and base for proper installation of the project. The base allows for freezing and thawing through out the seasons and keeps the project level. There are base requirements for each application also. Below you will see the requirements for each project.
Regular Patio Installation ( Chairs grill and normal walking ) – Four to Six inches of sub base, One inch base compacting both at three inch intervals then pavers and poly sand compacted to spec.
Patio with Hot Tub Installation – Eight to Ten inches of sub base, one inch of base compacting both at three inch intervals then pavers and poly sand compacted to spec.
Driveway Installation – Be careful on this one! Ask yourself will I be receiving deliveries or be having renovations done which will require heavy equipment or trucks on my driveway. If you will never be receiving any of these then a twelve inch sub base and one inch base will be fine, if heavier than a normal car or pickup will be running on the driveway we recommend up to twenty four inch of sub base and one inch of base compacting every three inch intervals. then pavers and poly sand compacted to spec. This may be a little more than needed but it beats coming back and doing the project over again. NOTE LOTS OF PEOPLE MAKE THE MISTAKE OF NOT GOING DEEP ENOUGH ON THE DRIVE WAY PROJECT AND THEY START TO SEE TIRE TRACKS DO TO BASE MATERIAL MISTAKES. DONT LET IT HAPPEN TO YOU!!
Do I need to seal my pavers and when do we seal them?
No, But the sealer will make the project last longer.
I like to wait a couple weeks after installation to seal this allows the sand to dry well in cooler weather and lets everything setup well. Sealing when wet or tamp will leave white marks from the sealer which is very hard to get off.
Sealers – Wet look Sealer is the look of the pavers being wet all the time. This look is really nice but is very dangerous. The wet look gets very slippy in wet and snowy conditions. I DO NOT RECOMMEND this look or product. Note – This product works well on large bolders and water garden rocks that no one will be walking on and gives a very nice shine all the time.
Sealers – Semi Gloss Look Sealer – Semi Gloss look is the look of dry and wet with very little shine like your house hold paint. This is a good sealer to have if you want some shine but not the real dangerous conditions.
Sealers – Natural Look Sealer – Natural look sealer is the look of natural pavers but with the protection of the pavers. This sealer works well and is the sealer I highly recommend.
How often do I seal my pavers?
Every three to five years depending on the traffic.
How do I tell when my pavers need resealed?
When the physical barrier ( sealer ) is showing wear or when it rains the pavers will start to show a different color, shine and dual at the same time. I recommend a scheduled maintenance program of every three years.
HOW DO I START A HARDSCAPE PROJECT?
Regulations very from State to State.
A Guide to Starting Your Project!
- Check your State and Local Code Restrictions.
- Obtain proper permits. If using a Contractor ask who will be getting the permits. This veries from Contractor to Contractor.
- Perform a Utility Check Miss Utility or Pa. 1 Call in Pa. ( Required in Pa. and other States. ) Usually requires three Business days.
- Check for drainage issues.
- Draw and Plan and Layout of the project.
- Pick Materials ask for sample to take home.
- Calculate materials needed.
- Excavate area. 1/4 inch or 2 percent slope per one foot required for proper drainage.
- Base materials, Tamping every three inches two different ways.
- Edging restraints, recommend pins every foot.
- Bedding sand or stone dust.
- Paver or other material Installation.
- Joint sanding tamping in or as directed by sand manufacturer.
- Sealing optional.
- Yearly maintenance.
The first thing that must be done is to contact your local codes office and see if there are any codes for your hardscape project. Codes as set back, how large is the project, property lines and utilities may cause issues for a permit.
Permits may require a blue print to satisfy the codes office. This will need to be performed by a Licensed Contractor or Licensed Building Engineer. Please folks do not do the project without a permit some codes offices will make you remove the complete project from your home or business and they have the legal rights to do so.
Next you will need to decide the design of your project. I recommend if your doing this yourself to go out and lay a garden hose or a string out where you want everything. I would also recommend sitting everything out you plan on having on your new patio so you can see the actual room you will have when everything in place. This is the biggest mistake Individual make in designing their patio. They do not make the patio big enough. I recommend going the size you have plus half, this is usually pretty close.
Contractors just add the actual distance after asking you what you will be using the patio for and what will be on the patio for the project as we deal with the patio size daily. A contractor that does not ask what you will be using it for and what will be on the patio is not doing their job correctly and is not helping you the client at all. Beware of this folks!!
The next step will be the Installation of the project from start to finish.
After completion the codes office may or may not Inspect the project to assure it meets all codes for your area. So be sure to make everything to code.
Congratulations Enjoy your new patio!!
Maintenance of my Hardscape Project!
- Sweep pavers or project regularly removing all debris,dirt and weed seed. I recommend weekly or bi weekly.
- Seal Pavers with a good sealer product. I recommend performing this right after Installation. Recommended every three to four years.
- Cleaning Marks, Stains and debris. General paver cleaners and scrubbing but not to hard and rinsing. ( Not sure on cleaner ask your local dealer for help )
- Replace Poly Sand when power washing and performing a reseal. This will be time consuming and a messy project. I recommend covering objects close to the project or moving them.
- While performing yearly maintenance replace chipped or broken pavers. I recommend when you install your project to keep ten to fifteen pavers for replacement over time.
- Remove weeds by hand or with a natural solution. Do not use Weed Killer Products as they work well but can damage the pavers. ( Check with your local dealer for help )
- DO NOT USE SALT FOR SNOW AND ICE IN THE WINTER THIS DESTROYS THE PAVERS!!
HIRING A HARDSCAPE CONTRACTOR,
What do I look for in a Contractor
- Make sure they are licensed in the State they are working.
- Make sure they are Insured for this type of work.
- Make sure they have referals from other projects.
- Make sure they have photos from other projects.
- Make sure they can answers the questions from above.
- Make sure you and the contractor connect properly.
- Ask if Sub Contractors will be involved which is ok just make sure they are Licensed and Insured also.
- Have a working Contract between both of you which is signed and all is agreed on.
- Make sure the contract spells everything out clearly everything should be in writing.
- Never give more than 50% deposit and never give final payment until you check the work. If a contractor ask for 100% down walkway from the Contractor!!
- Ask what the waranty period is and what is covered 100% and what is not and it should be from date of completion on every project.
- Contacts may have clauses which is fine just make sure what the clause is and what you are responsible for.
- Finally, read your contract closely and fully and do not sign it until your happy with the contract.
Please note that all of the above material and labor is based on how we perform the projects and on our local Regualations. We recommend you do your home work on your specific project and make sure everything is correct and to legal standards for your local and State Goverment. This page is for recomendations and guiding only.